


Hi Stampers!
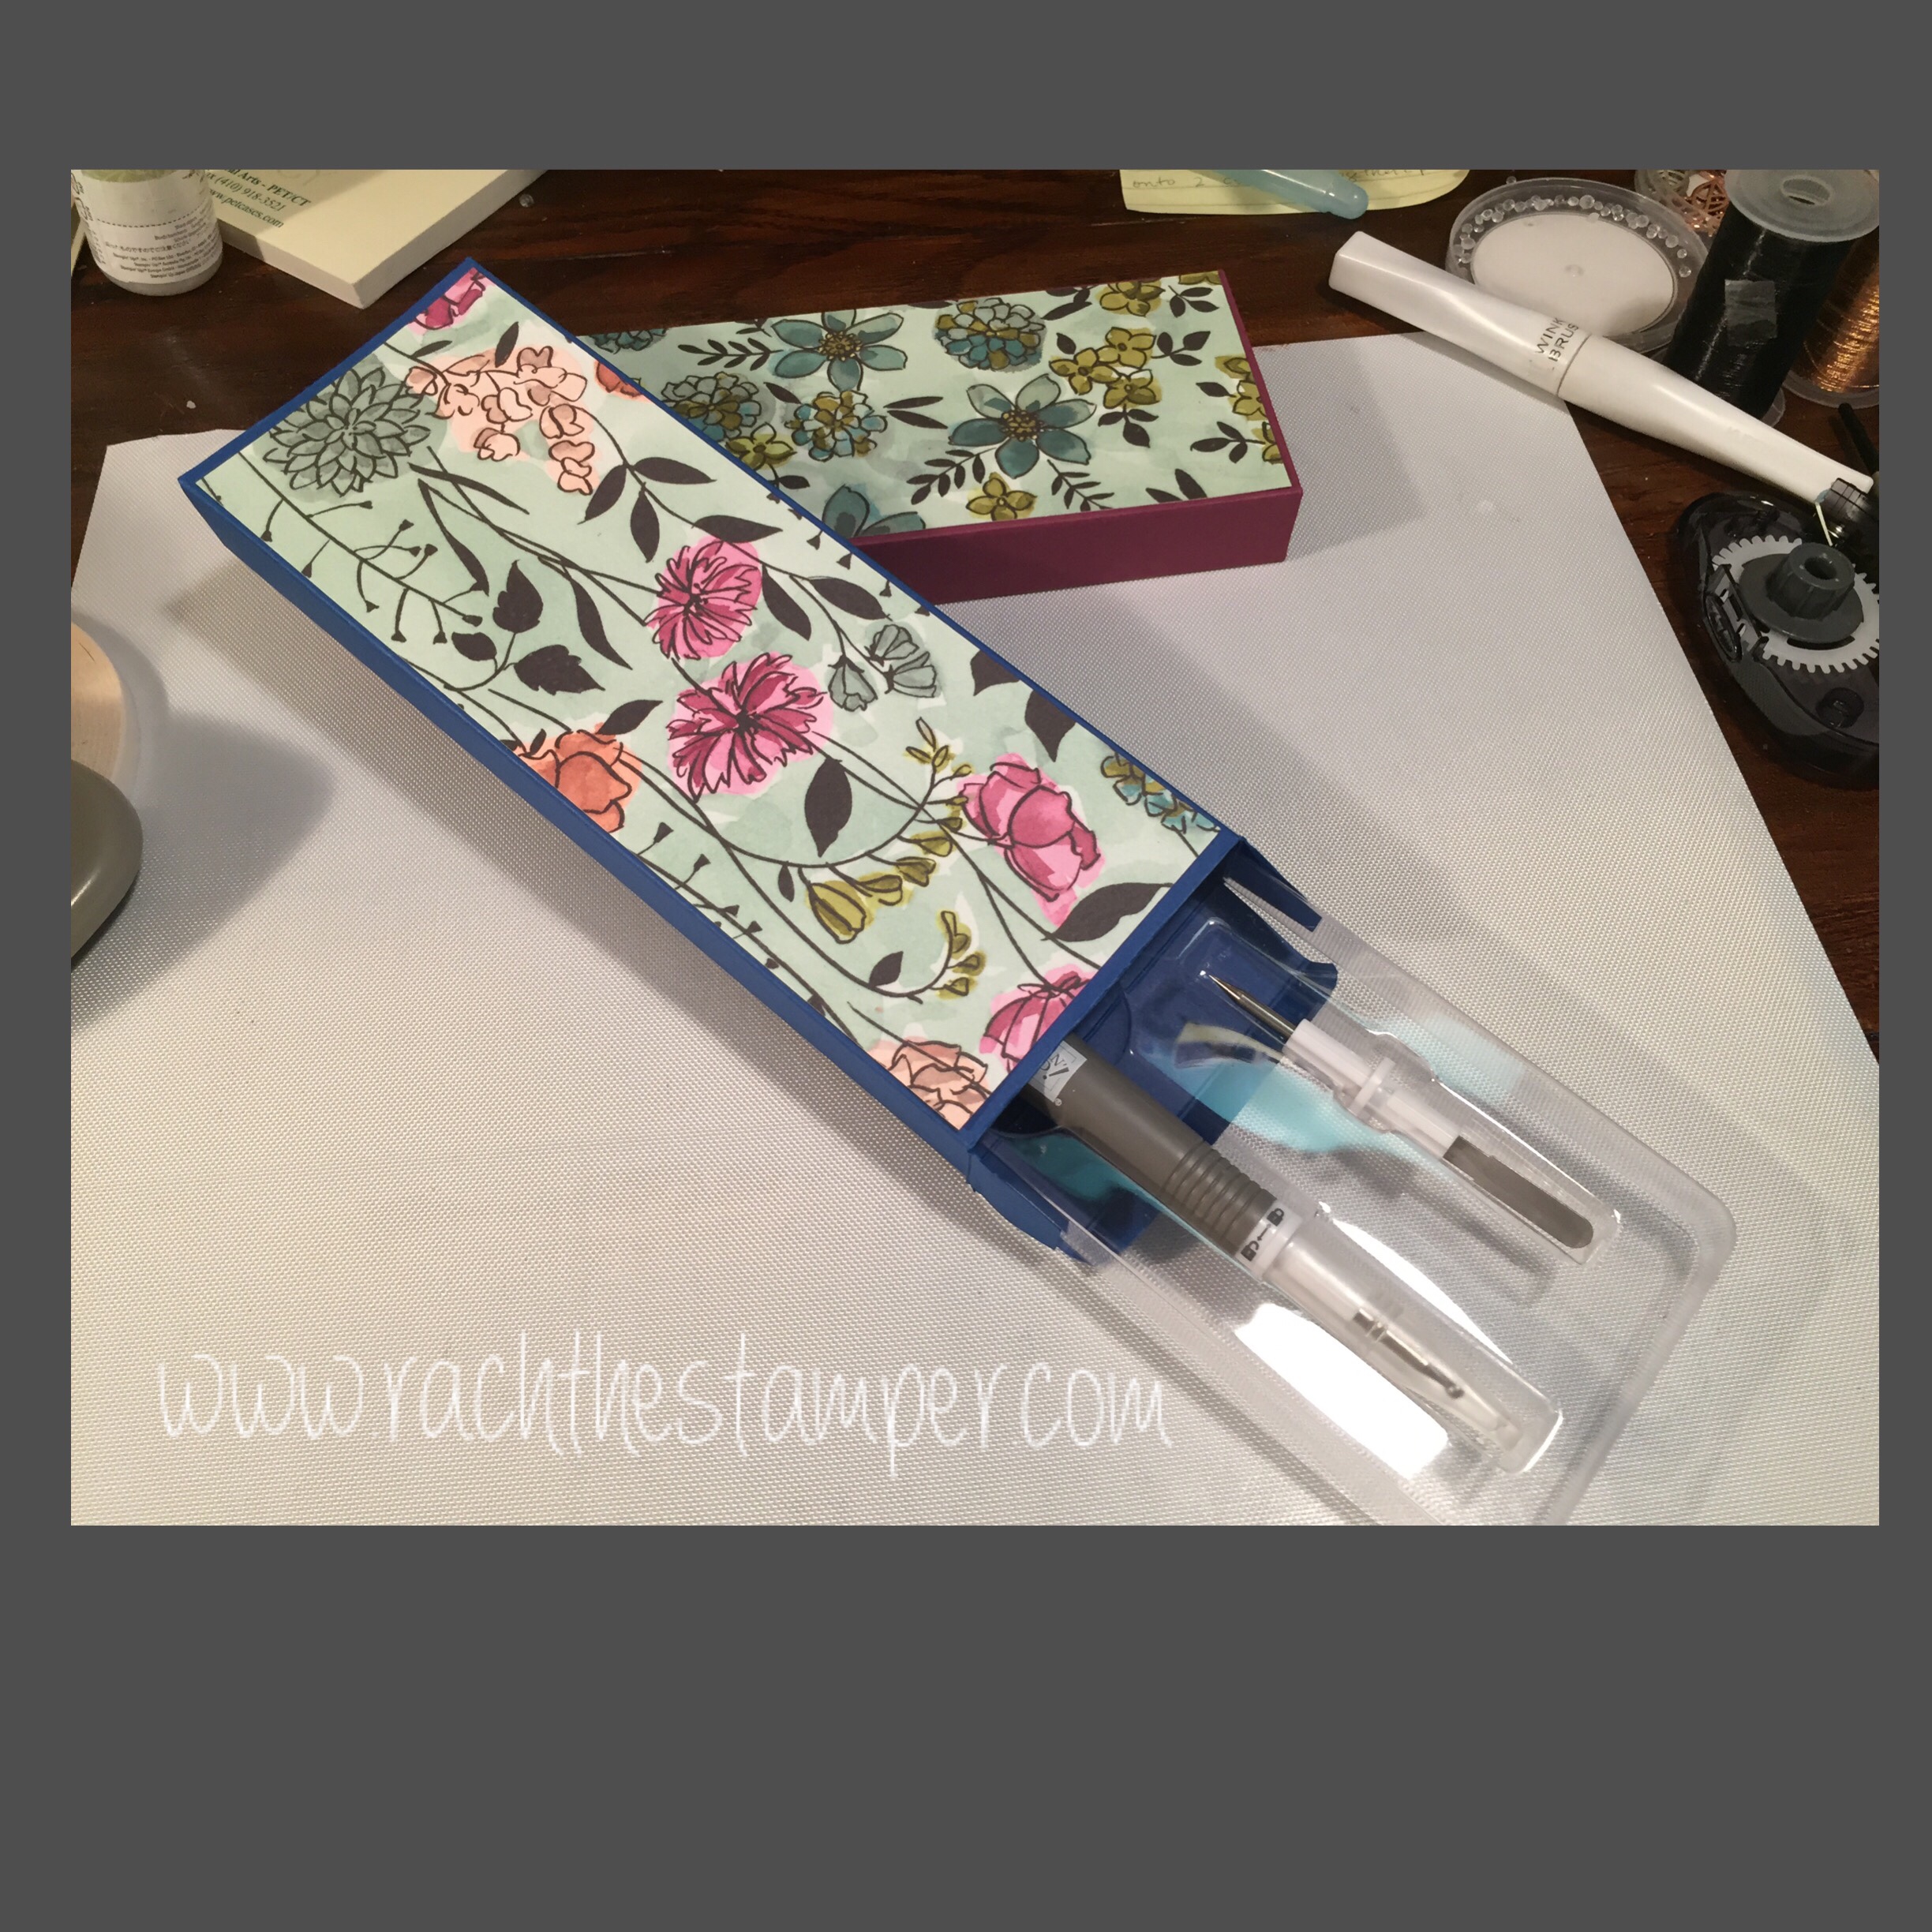
I hope you will find this little box useful, I created two, one with both ends closed and another with one ends flaps removed so you can just slide your tool holder in and out if you’d like!
I added a template above so you can see what it will look like before you assemble it too.
For this project you will use a full sheet of 8 1/2″ by 11″ card stock, or you could also skip it and just decorate the box it came in, however I feel that the box it comes in is flimsier than our cardstock and the new box will hold up longer.
Box Recipe:
Choose any color of card stock but you need a full sheet
On the 11″ side, score at: 5/8″, 1 1/2″, 9 1/2″, 10 3/8″
On the 8 1/2″ side, score at: 7/8″, 3 7/8″, 4 6/8″, 7 6/8″
DSP layer to decorate measures: 2 14/16″ by 7 14/16″
If you choose to add some DSP, you will want to add it before you make it into a box as it is easier to get the DSP to hold to the box when pressing it on if it is flat.
Then you will trim up the flaps and give the sides a miter cut for a better fit, and adhere the sides together with Tear n Tape.
If you only want one flap, simply cut off all the flaps on one side.
*Side note: Rick Adkins was the demo I referenced on the video yesterday. He did a really cool card in Blueberry Bushel for the One Stamp at a Time blog hop. Go check it out.
What color will you choose for your tool?
Until next time,
Stay Crafty
XO Rach
Product List


Social Media Links
Follow me on Facebook!
Follow me on Instagram
Check out some great Pins
Shop with me
Blog with me
Chat with me at Rachthestamper@gmail.com
What a cute little box! Kudos!